The profile is installed once, wherever there’s internet — at home or in the hotel. You can switch it on later: the plan period starts with the first connection to a network in the destination country.
The “My eSIMs” section — the plan you bought is already there. Tap “Install”: the iPhone will offer to add the profile with one tap, no scanning.
The system asks whether to add the plan. Agree and name the profile — say, “Turkey”. Keep your main line for calls and SMS.
Settings → Cellular: for the new line “Cellular Data” is on and “Data Roaming” is on. This isn’t your carrier’s roaming — it’s permission for the eSIM to work on a foreign network.
Before the flight you can keep the line off so the countdown doesn’t start. Landed — turn it on: the phone finds the network by itself, usually within a minute.
“My eSIMs” → “Install”: the screen shows a QR and a manual code. Scan it with another device — or type the code by hand.
Settings → Connections → SIM manager → Add eSIM (Samsung) or Settings → Network & internet → SIMs → Add (Pixel, Xiaomi). Choose “Scan QR” or “Enter code”.
In the same menu: mobile data through the new eSIM, calls and SMS through the main one. Turn on data roaming for the eSIM: without it the network won’t connect.
You can keep the profile off until you land. Turn it on — the phone finds the local network; if it doesn’t, pick it manually in the network settings.
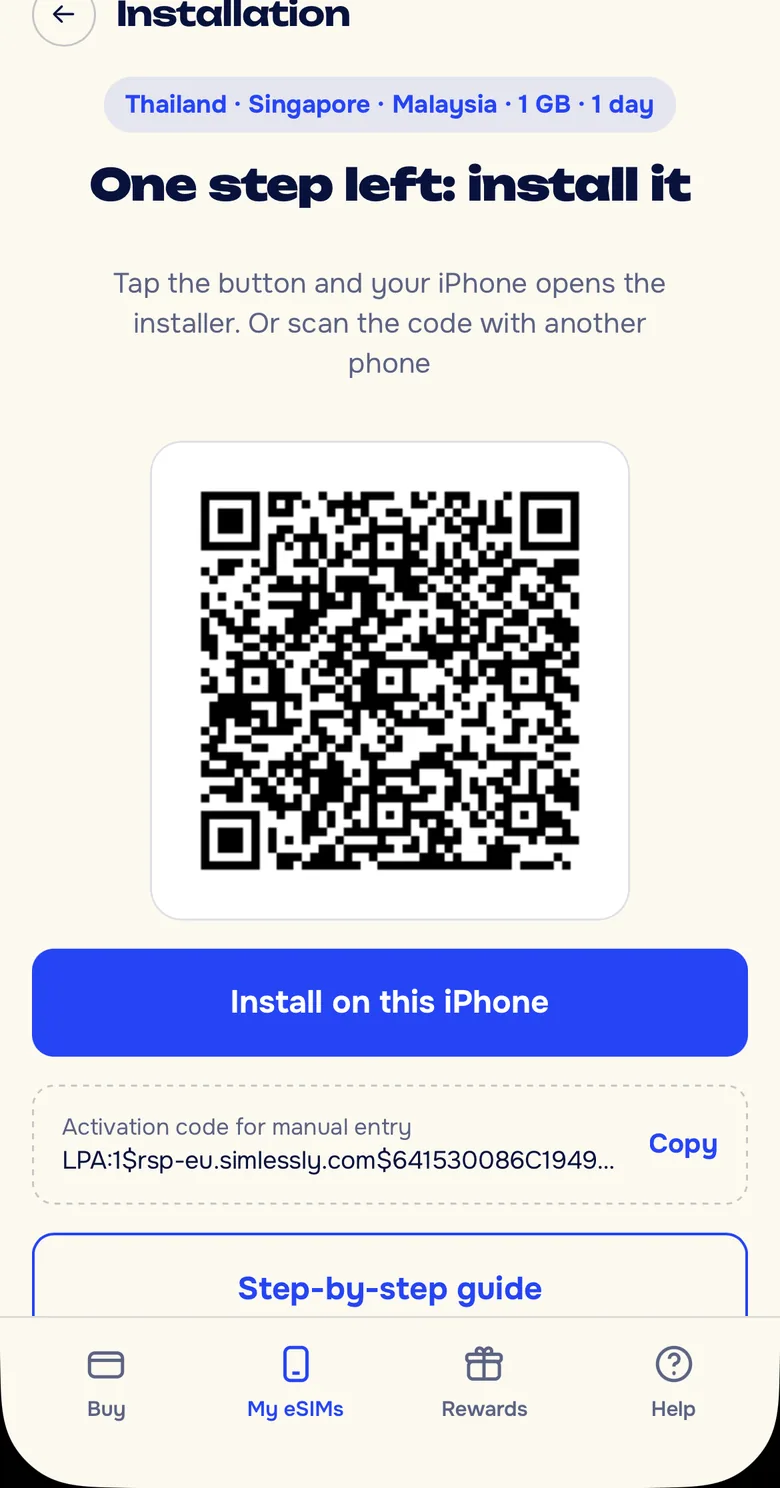
This is the installation screen in the app: an “Install” button, a QR code and a manual code — for any phone.
Three rules that save plan days and nerves at the airport.
Installation needs internet — the profile downloads from a server. The arrival airport may not have it. Install at home over Wi-Fi.
Not with the purchase and not with the installation. The plan waits up to 180 days. Installed in May, flew in July — the days start counting in July.
A deleted eSIM can’t be restored — the QR is single-use. Out of data — top up in the app, the profile stays the same.
You don’t have to scan. On iPhone the installation goes with one tap right from the app; on Android type the code by hand — it’s shown under the QR, with a “Copy” button next to it.
It’s permission for the line to work on another country’s network. For the eSIM it’s required, and it’s your home carrier that charges for it — only on its own line. The eSIM plan is already paid; nothing extra will be charged.
Check three things: the line is on, mobile data goes through it, data roaming is on. Didn’t help — pick the network manually in settings or restart the phone. The step-by-step breakdown is in «If it doesn't work».
No: the profile is tied to the device it was installed on. If you’re changing phones before the trip — message support, we’ll sort it out individually.
You can buy a plan in advance: it waits up to 180 days for activation, and the validity period starts with the first connection to a network. The QR code arrives right after payment.